Install On cPanel Shared Hosting
To install on cPanel shared hosting, access cPanel, and follow the installation prompts for seamless setup.
Recommended tutorial is below 👇
Follow This Instructions
- Zip your project folder.
- Login to your cPanel.
- Go to the File Manager option and select it.
- Ensure you're in the root folder, then click "Upload".
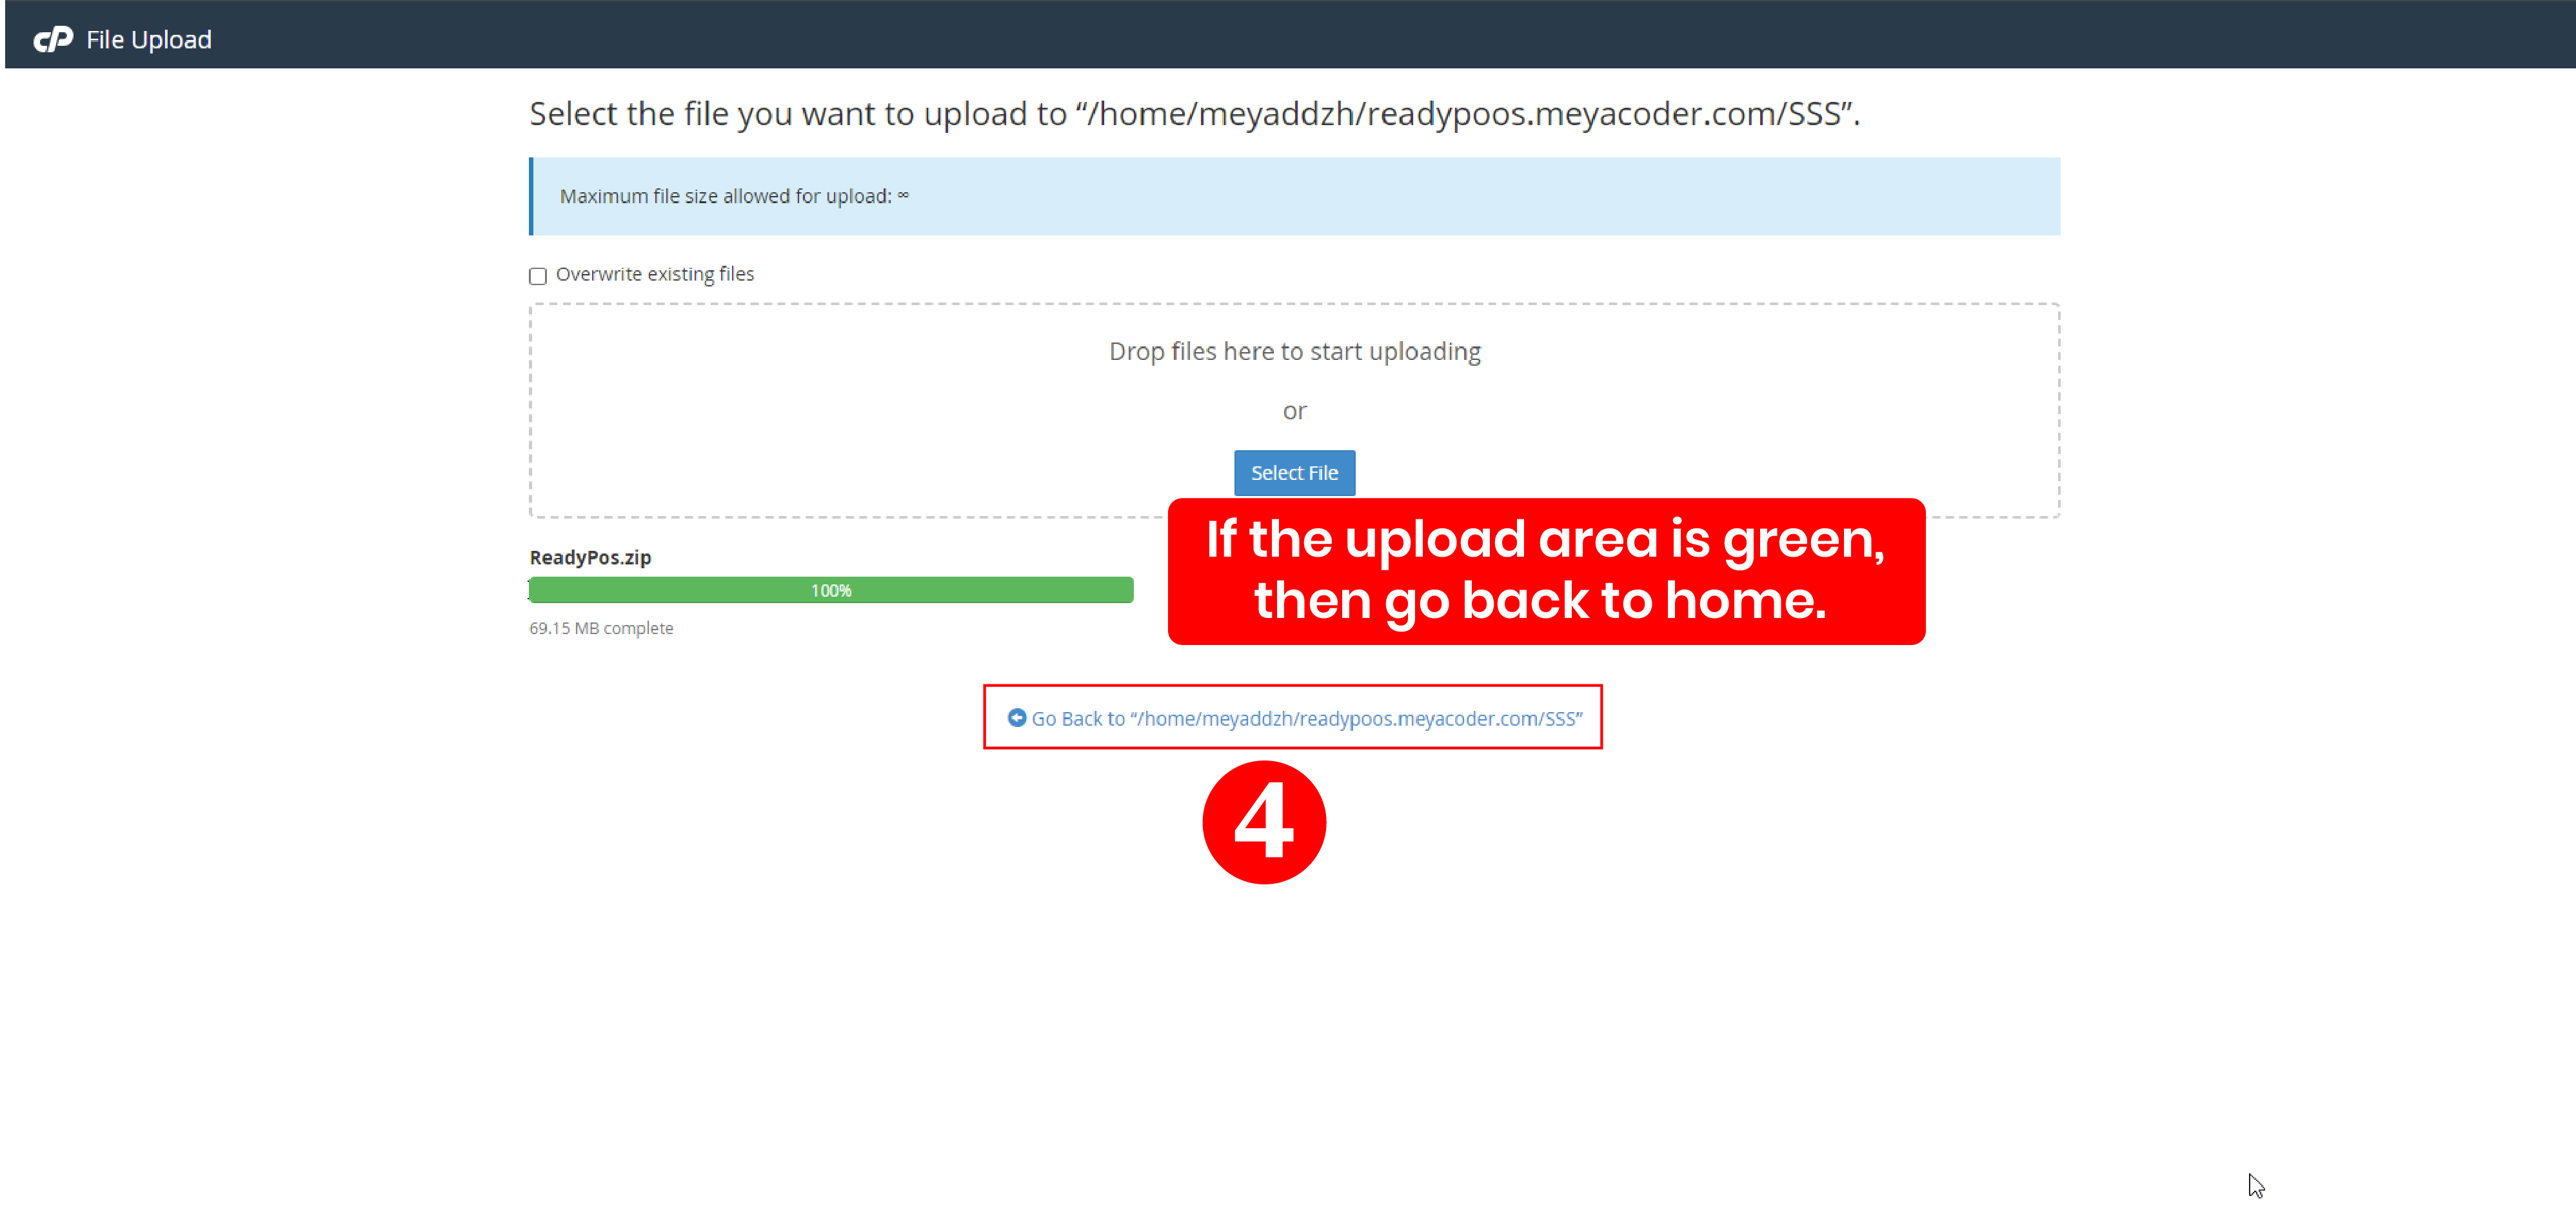
- Select your zip folder and wait for the upload to complete. If the upload area is green, then go back to home.
- Unzip the uploaded folder.
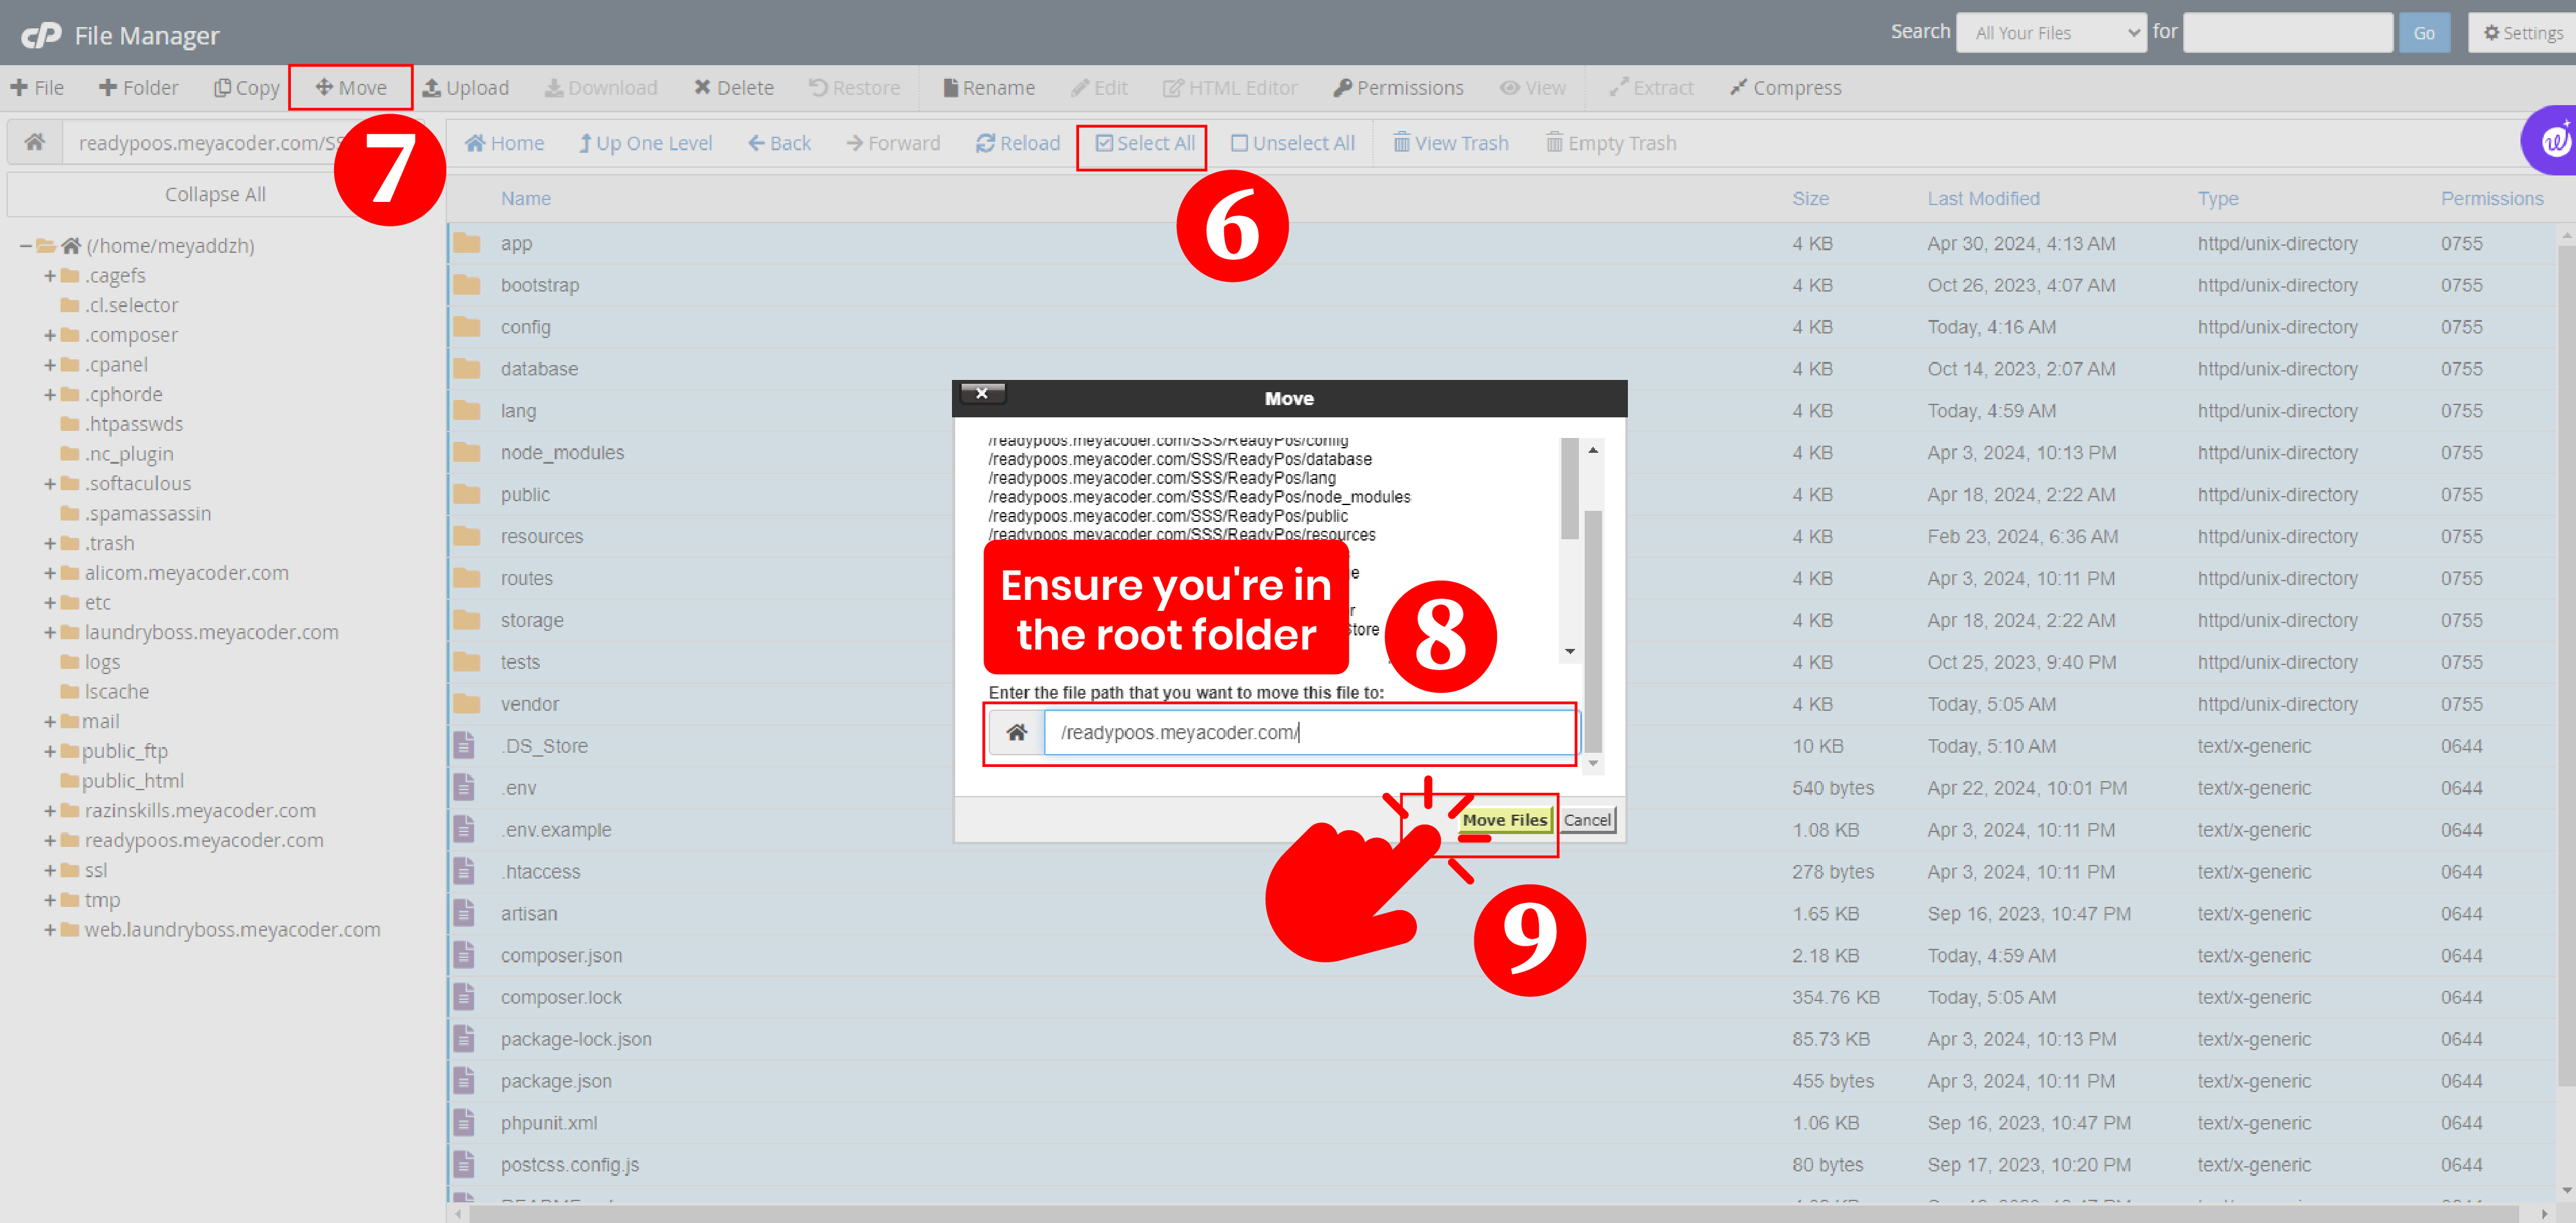
- Selectall files and directory move to the root folder.
- Go back to Cpanel and navigate to Database.
- Created a database and add (create if non exist) a DB user.
- You can then run your domain in any browser after that
- Press the Start Installation Process button that appears on the screen
- Then go to the root folder to check permission and give permission to the mentioned folders
- After that, if the permissions of the files are all right, then press the Next button
- After that, if the server request extensions are enabled, then click on the next button. If any extension is shown as disabled, then go to select PHP version from the C panel and enable all the extensions that are shown as disabled, then refresh the browser and then click on the next button.
- Then fill up the written forms and press the next button
- Connect to the database you created and press the next button
- Then fill out the form using your Email Account, Domain, Codecanyon Username, and your Purchase Code, and click the Verify Purchases button.
- Click on the Final Submission button and complete the installation process by clicking on the Click to Redirect button.
Example
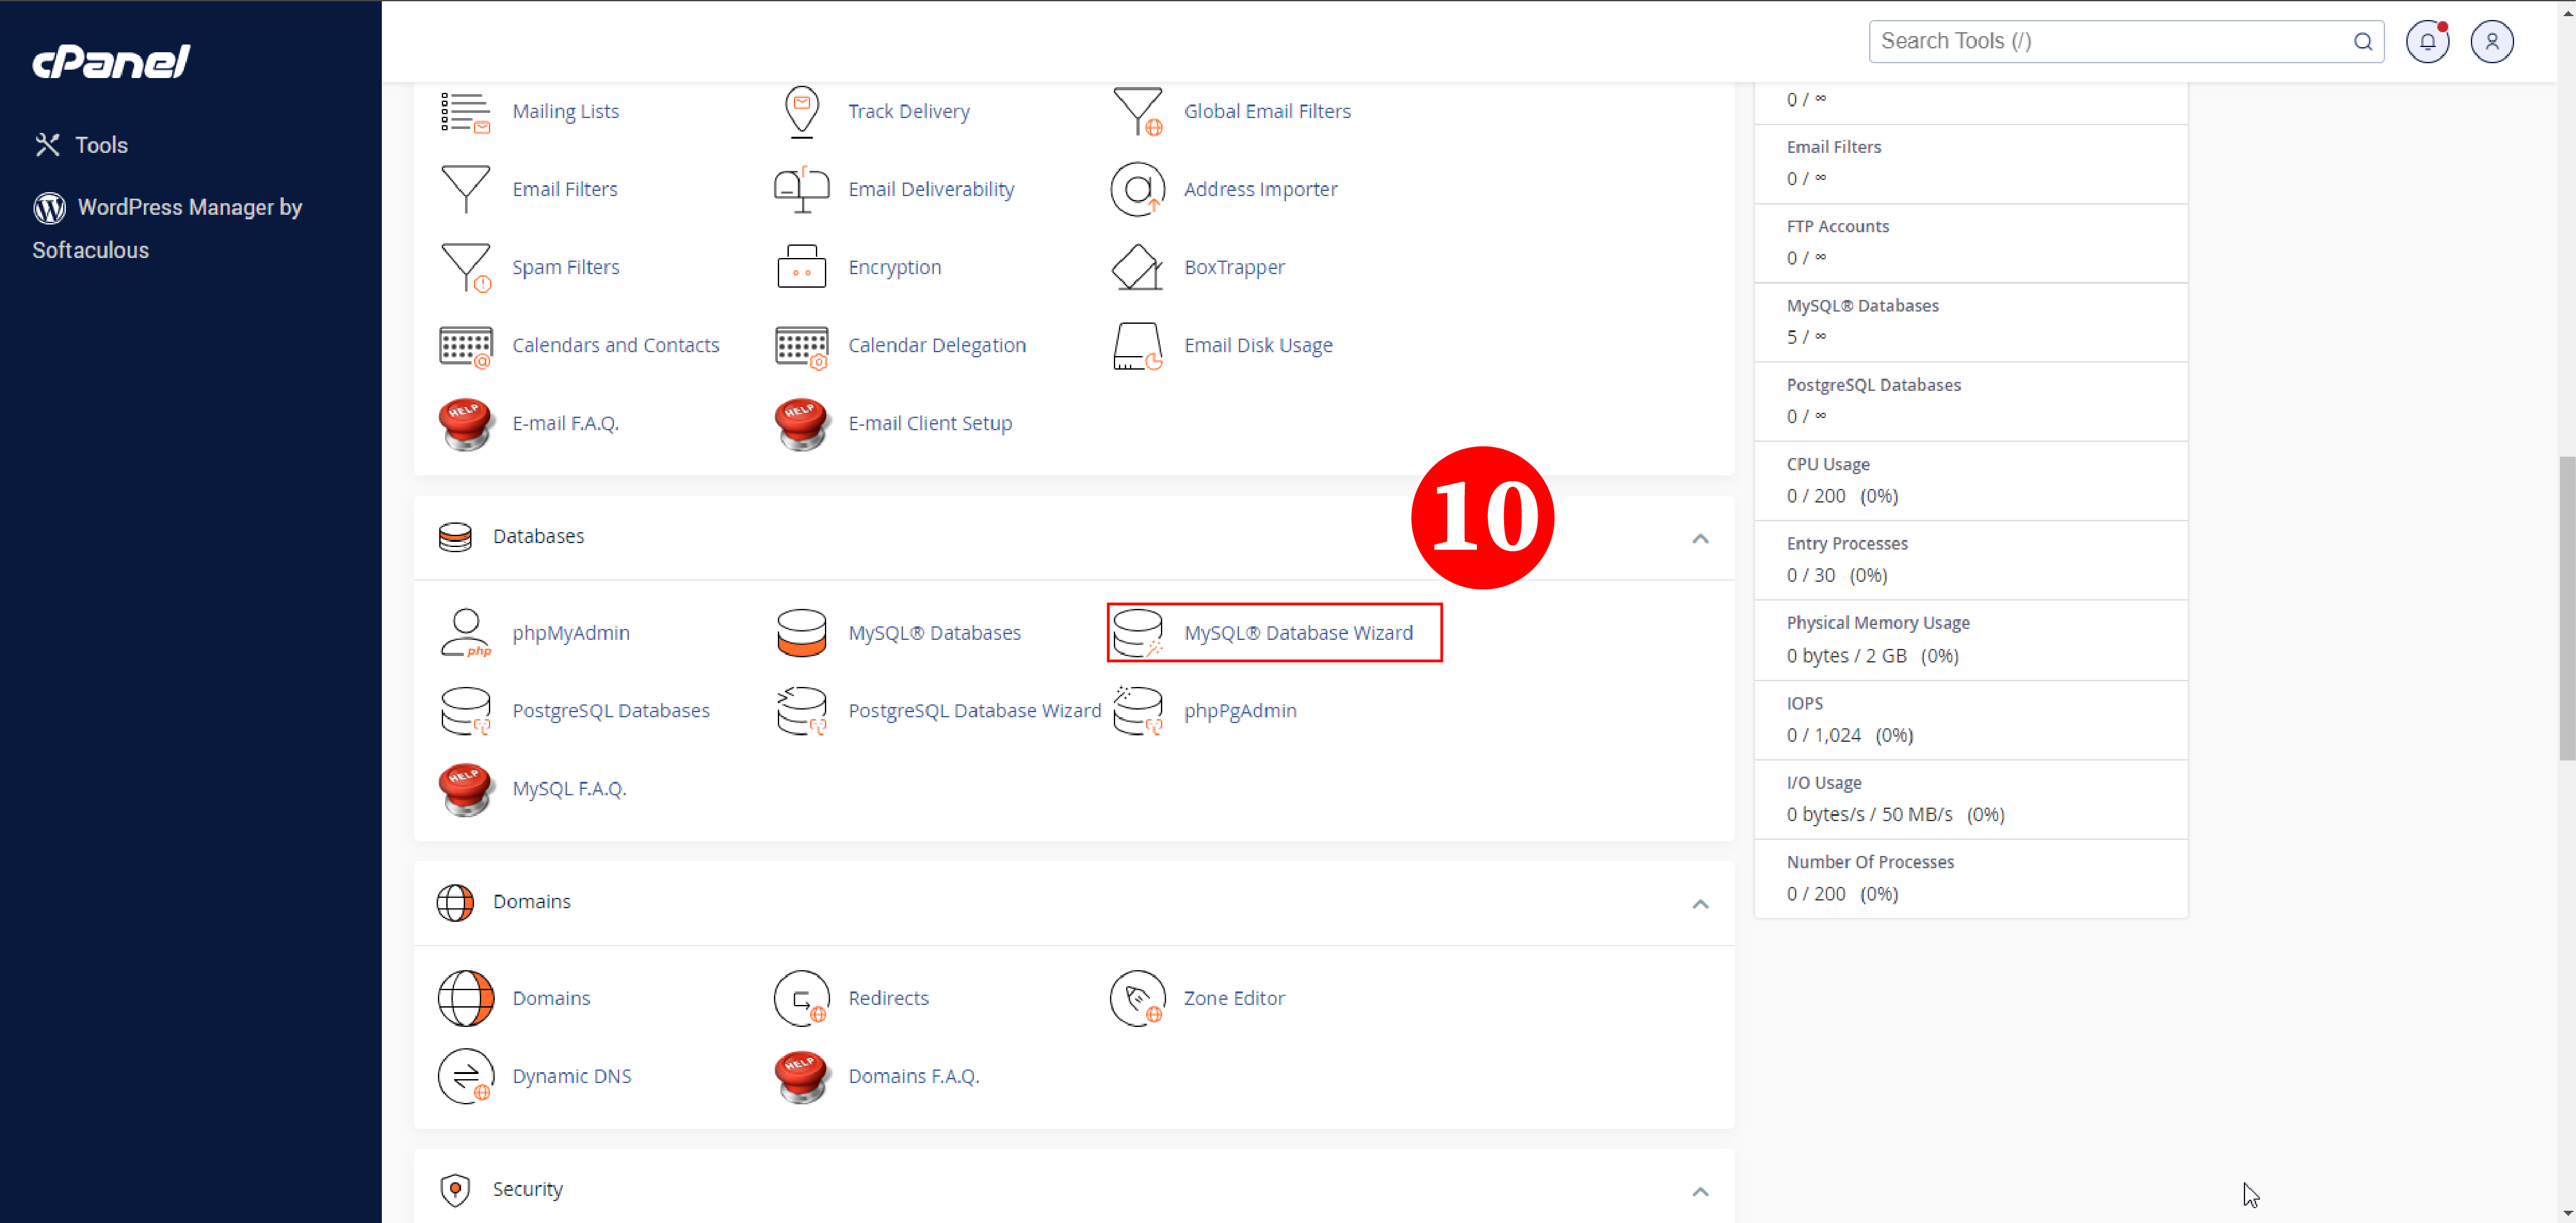
.jpg)
.jpg)
Example
.jpg)
Example
.jpg)
Example
.jpg)
Full Installation Journey Example
.jpg)
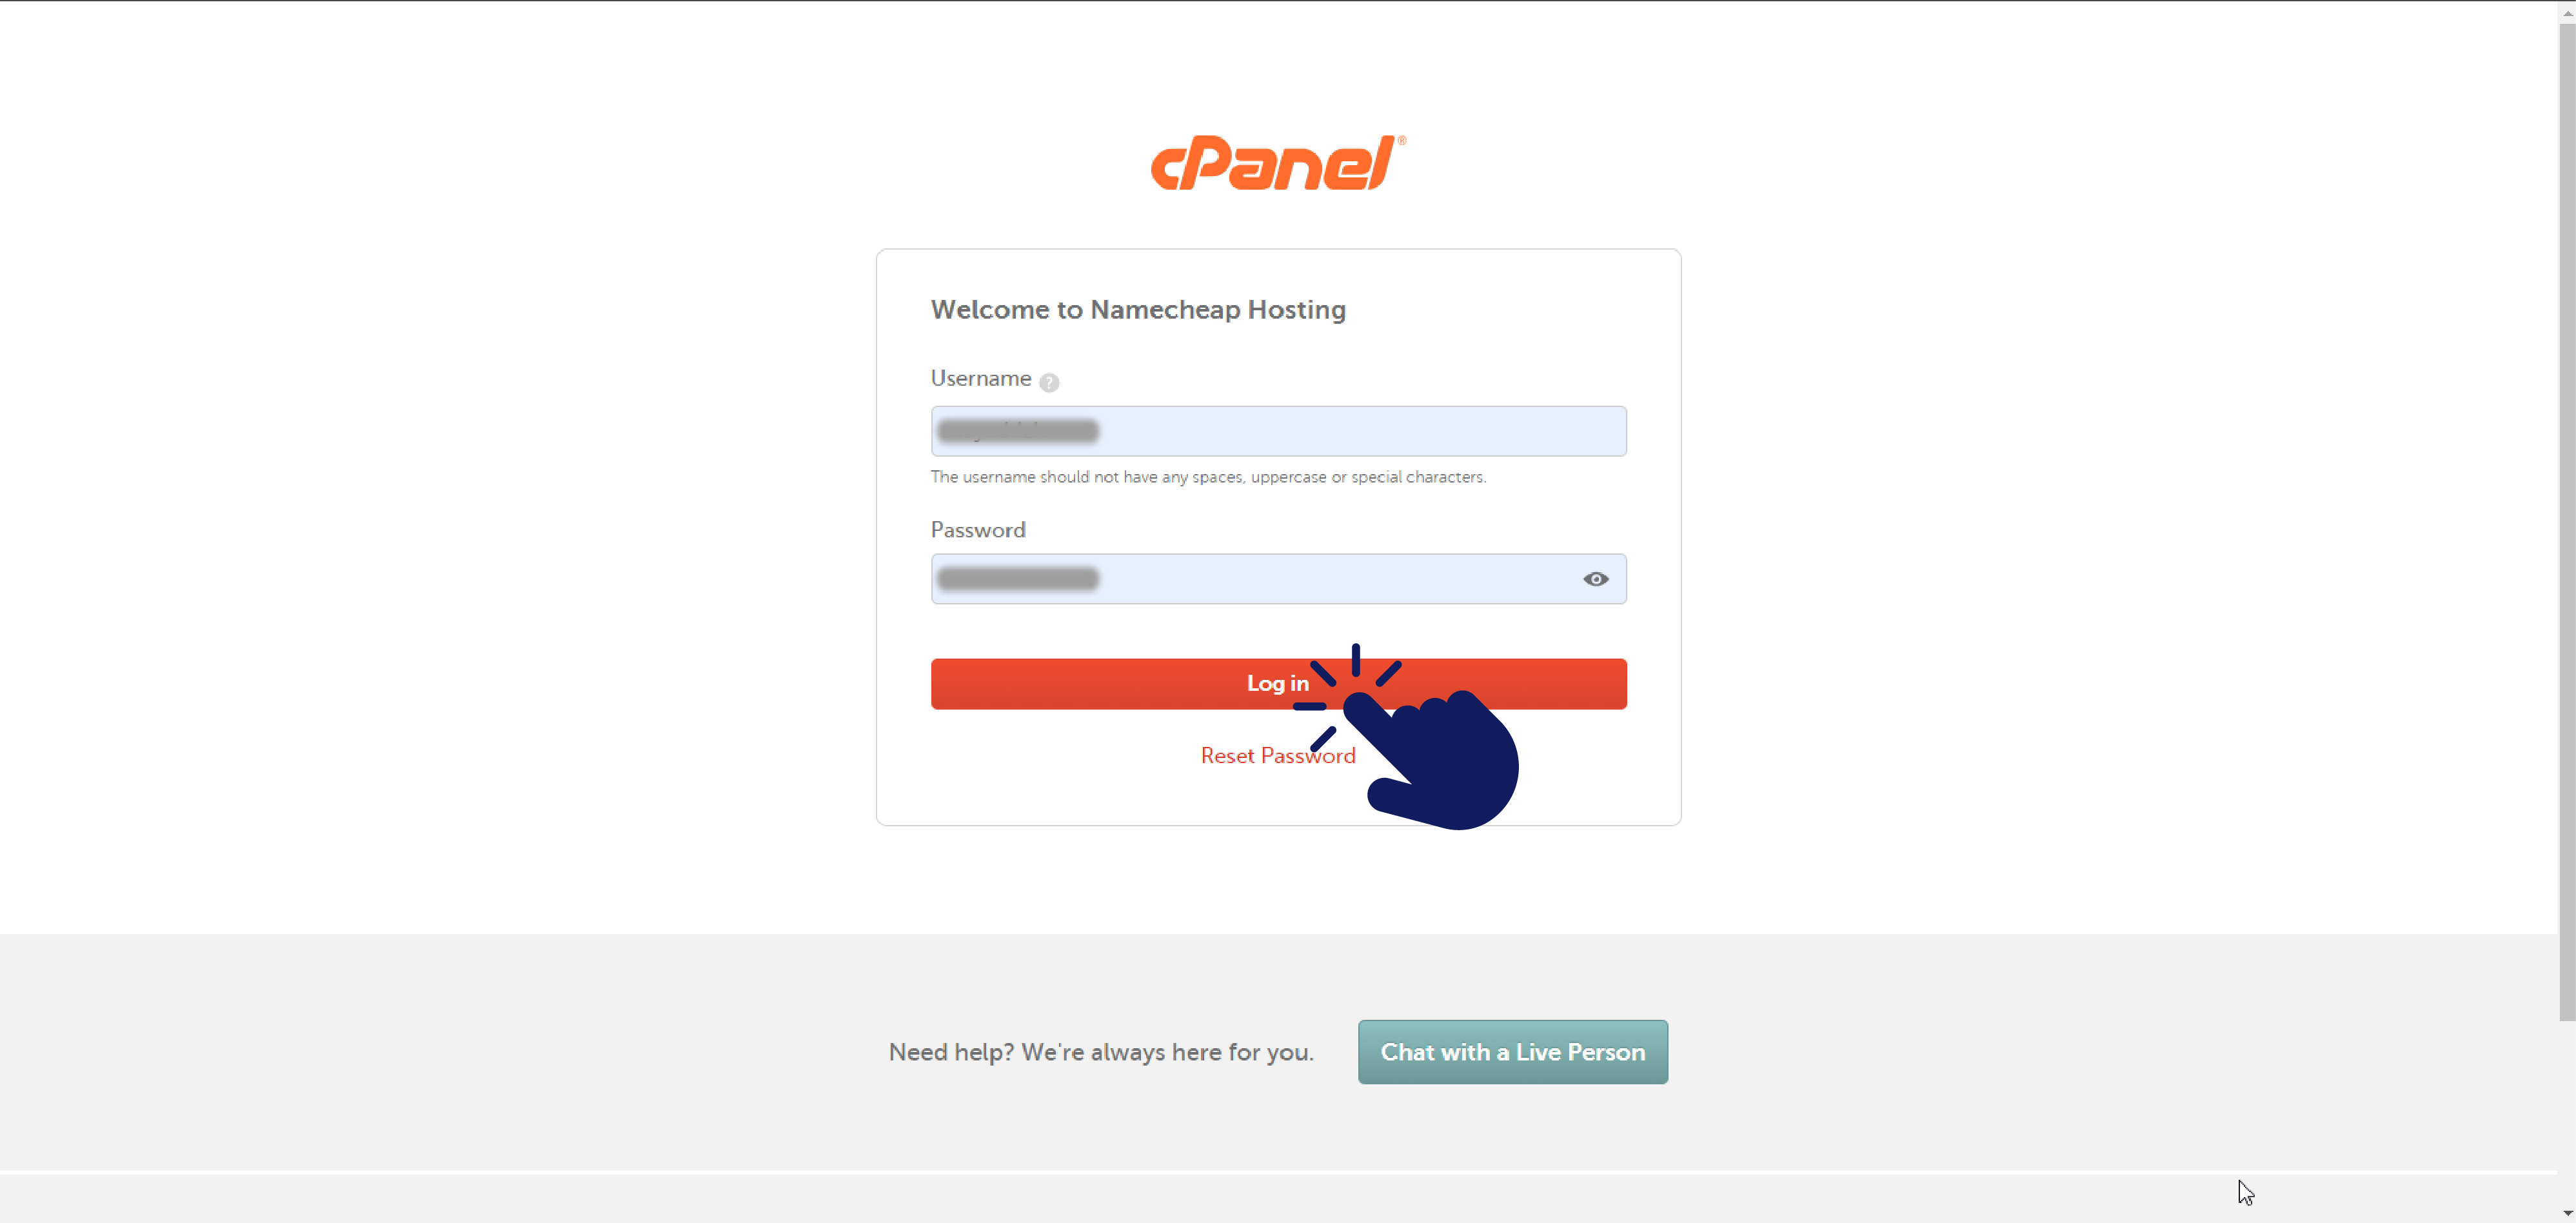
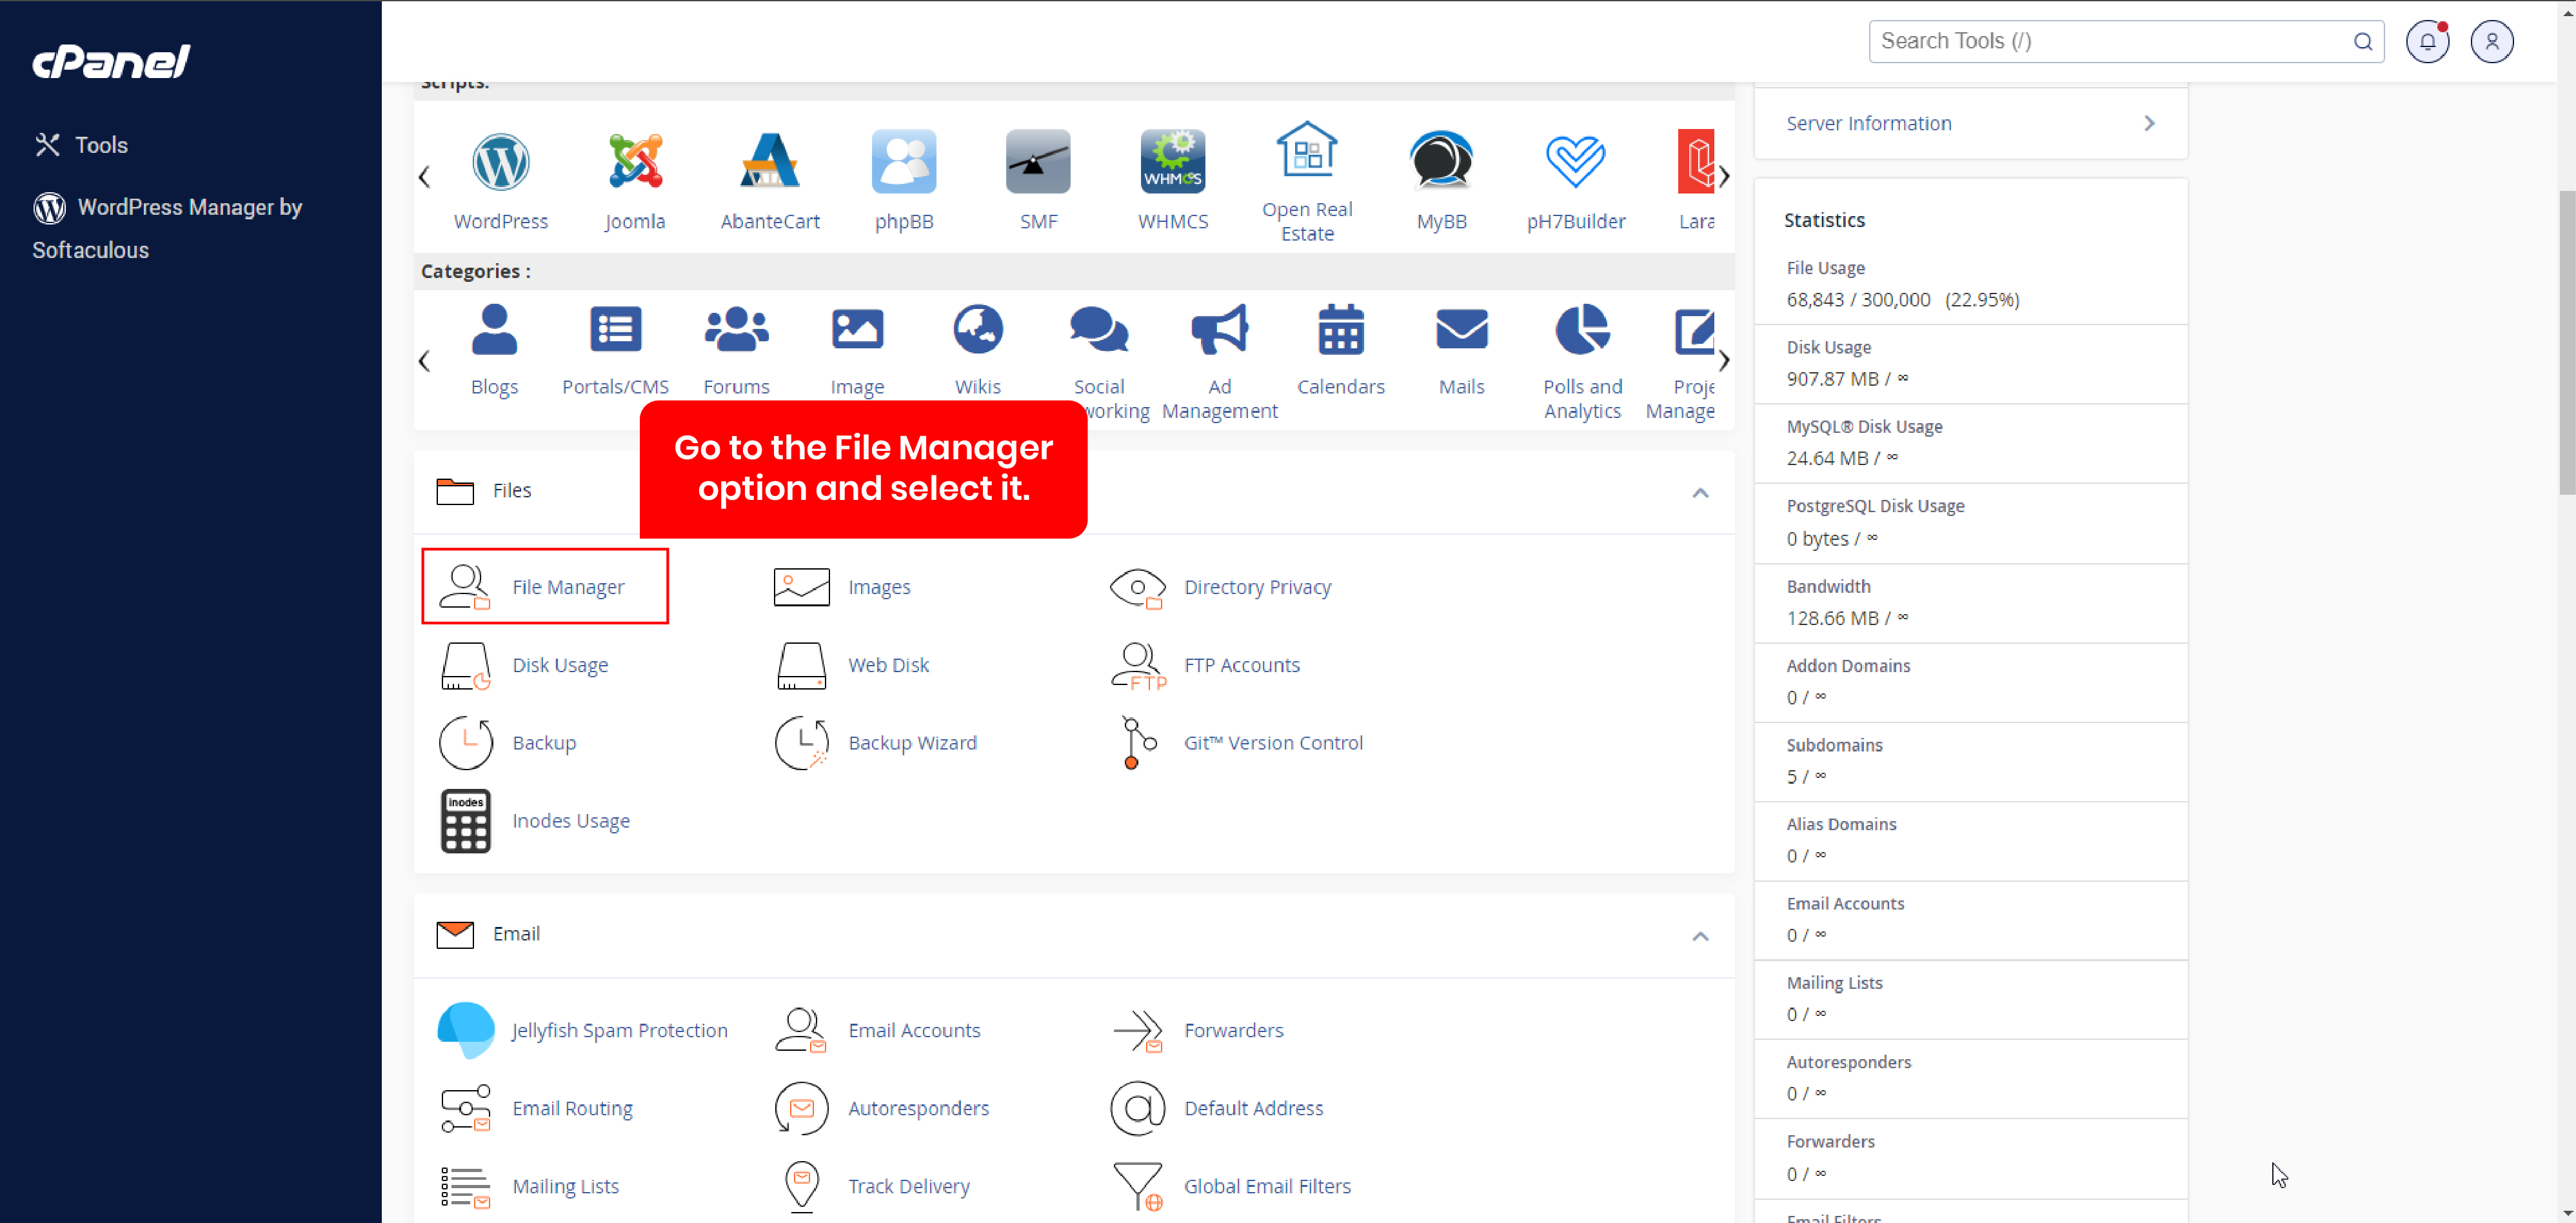
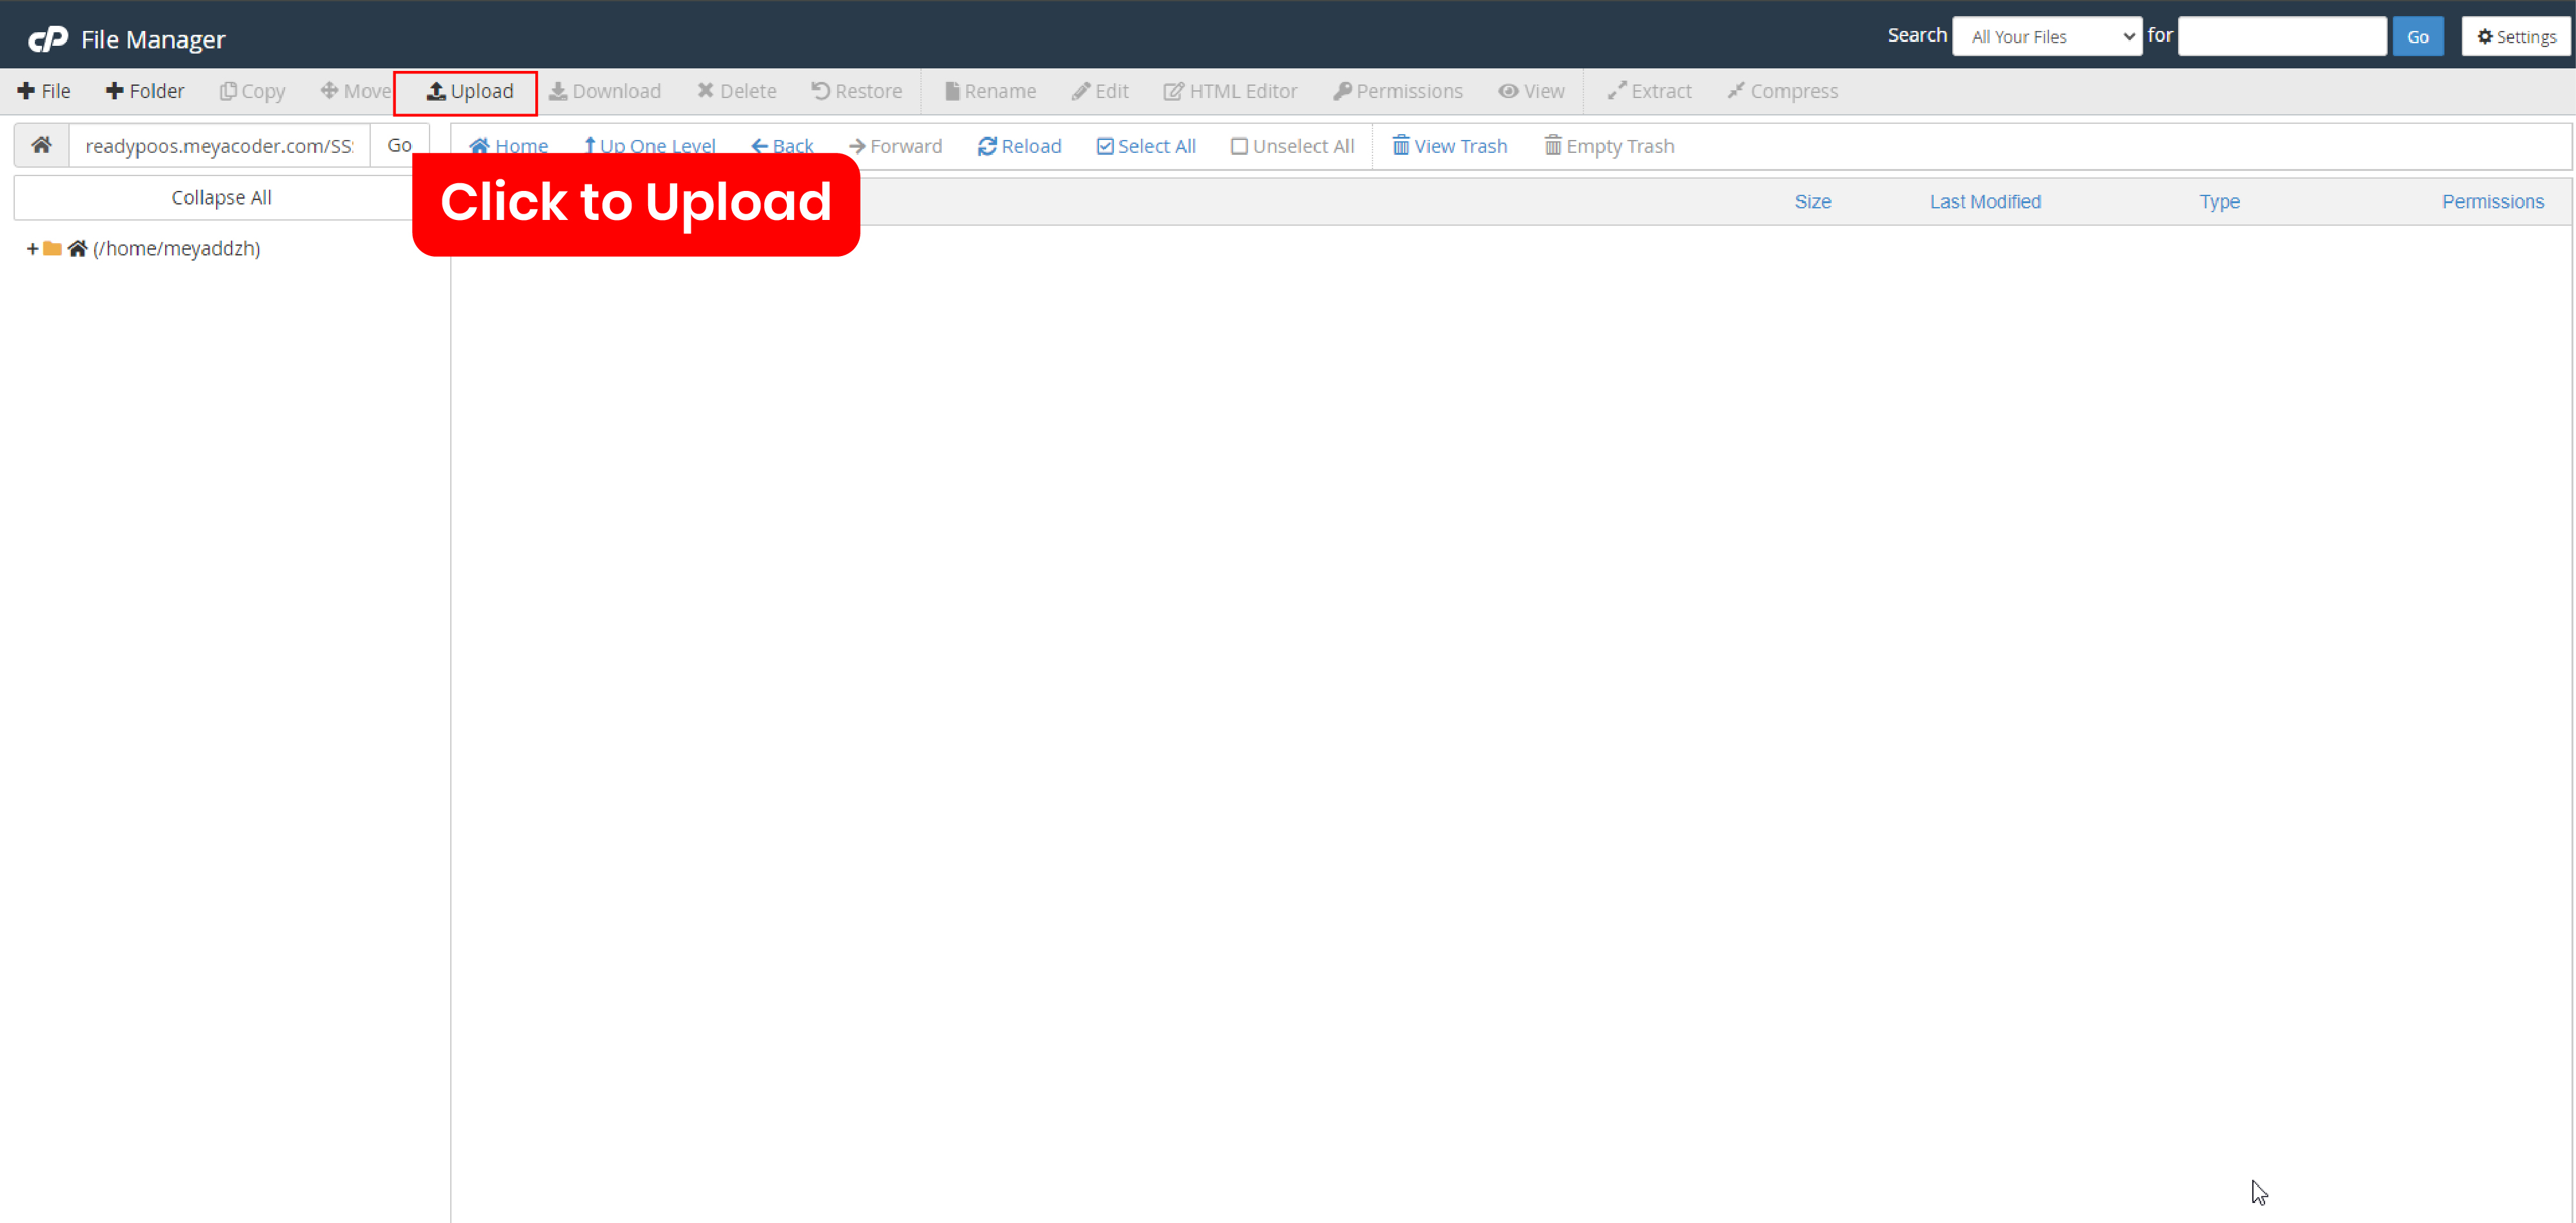
.jpg)
.jpg)

.jpg)
.jpg)
.jpg)
.jpg)
.jpg)
.jpg)
.jpg)
.jpg)
.jpg)
.jpg)
.jpg)
.jpg)
